Hey Techies,
Are you and your team finding it challenging to manage SharePoint files directly within the Salesforce system? Don’t worry I have got you covered! Let’s dive in and harness the best of both worlds by integrating Salesforce with SharePoint.
But hey, I bet you’re thinking, “Where do I even begin?” Don’t worry, that’s where this step-by-step manual comes into play! This blog has you covered from creating a SharePoint site to mastering callouts – it’s your ultimate guide, no question! It’s a real time-saver, so you won’t need to spend hours searching elsewhere.
So basically, there are two approaches to accessing SharePoint files in Salesforce.
1. Use standard Files.
2. API Callouts to Create your own LWC component for file. Yes, you read it right – your very own LWC Component.
For both the approaches, you will need to set up Files Connect, Permission Sets, External Data Sources, Named Credentials, and Auth Providers.
So, Let’s start:
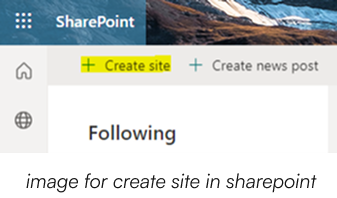
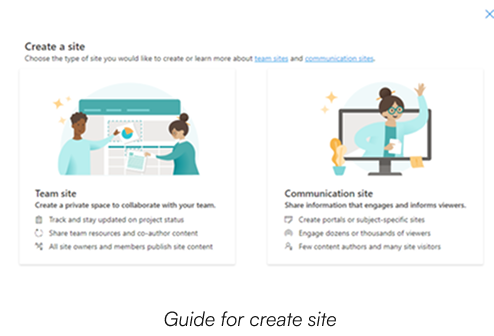
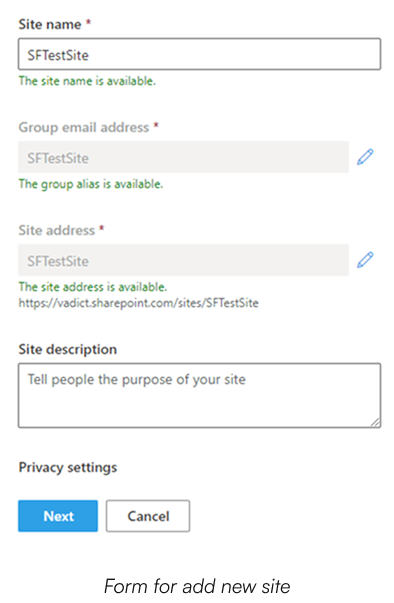
Step 1: Create SharePoint site
Firstly, we need to create one SharePoint site. So, for that follow below steps:
open SharePoint -> Create Site -> Select site type -> Add details
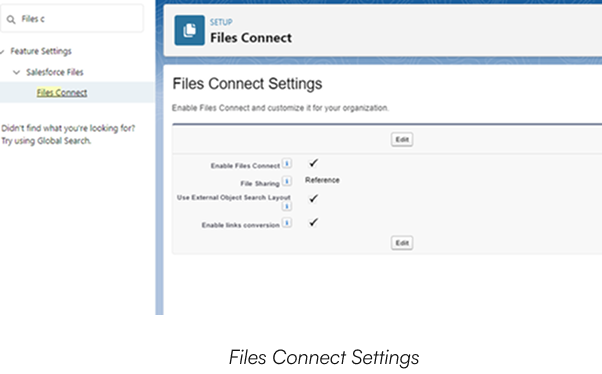
Step 2: Files Connect
First of all, what’s Files Connect?
Go to files connect and change the setting as following steps,
Go to Setup -> Search -> Files Connect -> Enable Files Connect
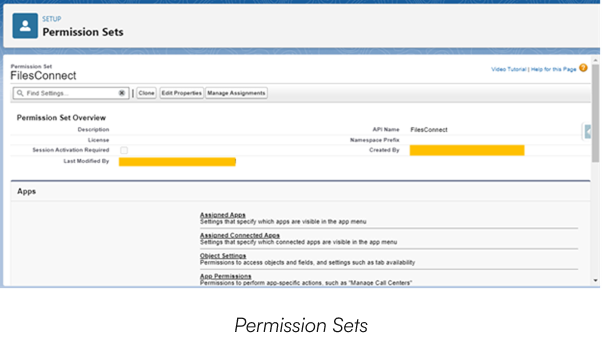
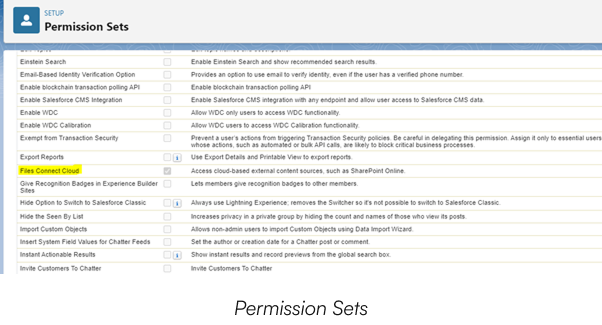
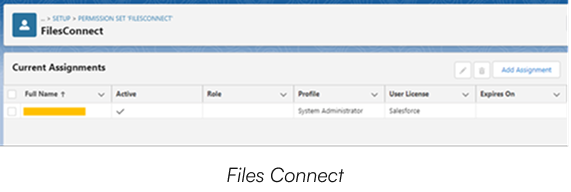
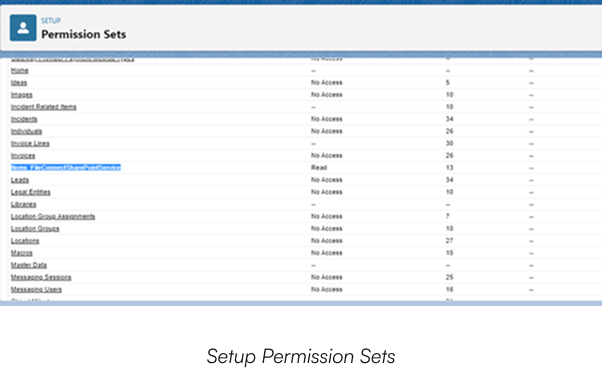
Step 3: Create Permission Set
In order to access external files and folders, we need to provide the Files Connect permission to the user, for that we will make permission set and assign it to concerned user.
So, the below steps would be necessary:
Setup -> Permission Sets -> New -> System Permissions -> Enable Files Connect Cloud -> Manage Assignments -> Add Assignment -> Select User -> Assign
Step 3: Create Auth. Provider
Auth. Provider is important for authentication.
Steps for creating Auth. Provider are:
Setup -> Auth. Provider -> New -> Provider Type = Microsoft Access Control Service -> Add Details As mentioned -> Save.
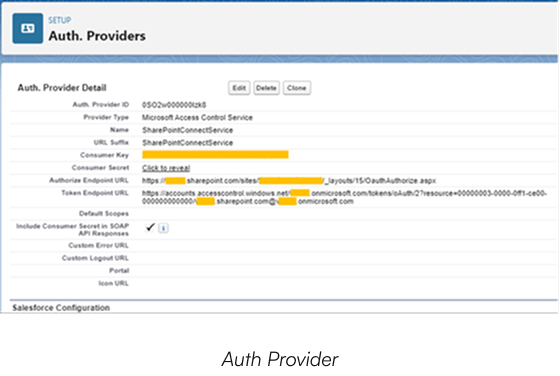
https://<Your_SharePointDomain>.sharepoint.com/sites/<Your_SharePoint_SiteName>/_layouts/15/OauthAuthorize.aspx
For example,
See, I told you I got you covered.
Next step would be to create Token Endpoint URL for that use following formula,
https://accounts.accesscontrol.windows.net/<Your_SharePoint_Domain>.onmicrosoft.com/tokens/ oAuth/2?resource=00000003-0000-0ff1-ce00-000000000000/<Your_SharePoint_Domain>. sharepoint.com@<Your_SharePoint_Domain>.onmicrosoft.com
Example:
https://accounts.accesscontrol.windows.net/Company.onmicrosoft.com/tokens/oAuth/2?resource=00000003-0000-0ff1-ce00-000000000000/Company.sharepoint.com@ Company.onmicrosoft.com
After saving this, a callback URL will be generated. Which will be used for Registering SharePoint App.
Step 5: Register SharePoint App
Go to the following URL for SharePoint App Registration:
https://<Your_SharePoint_Domain>/sites/<Your_SharePoint_SiteName>/_layouts/15/ appregnew.aspx
Example,
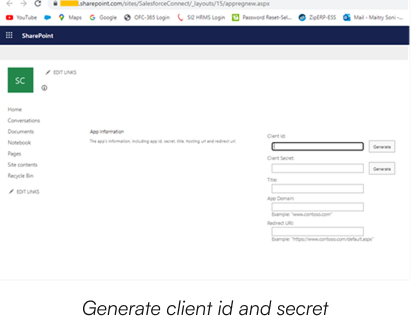
After that click create. we will get client id, secret and other details which we will need.
Step 6: Granting the Permission
SharePoint app needs permission.
For that, go to the following URL for granting the Permission to app:
Formula -> https://<SharePoint_Domain>/sites/<SharePoint_Site>/_layouts/15/appinv.aspx
Over here we need to give Permission Request XML.

<AppPermissionRequests>
<AppPermissionRequest Scope=”http://sharepoint/content/sitecollection” Right=”FullControl”/>
</AppPermissionRequests>
Here, we are giving full access to the site.
After clicking on create, the app will redirect to one page over there we need to click “Trust it “.
Now copy and paste client Id and Secret and add in Auth. Provider consumer key and secret.
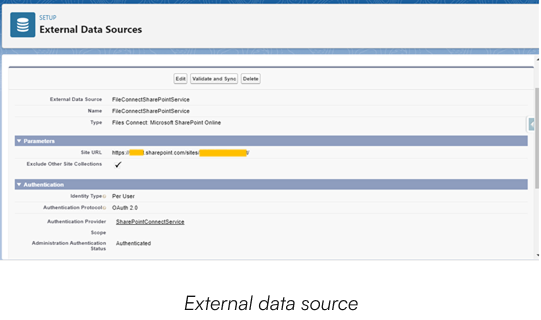
Step 7: Configure External Data Sources
Hmm… Firstly, what is External Data Source?
It represents the metadata associated with an external data source. Create external data sources to manage connection details for integration with data and content that are stored outside your Salesforce org.
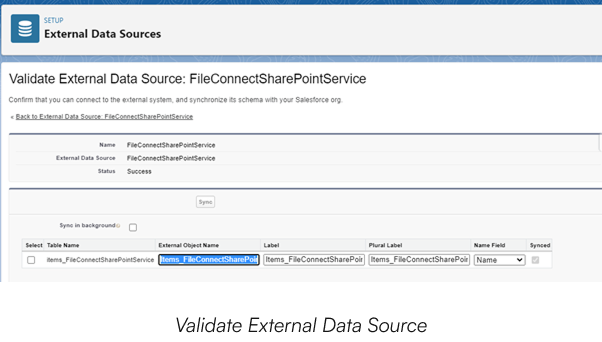
Go to Setup -> Search -> External Data Sources -> New External Data Source -> Select Type = Files connect: Microsoft SharePoint Online -> Select Previously Created Auth Provider -> Insert other details as shown in picture -> Save -> Validate and sync.
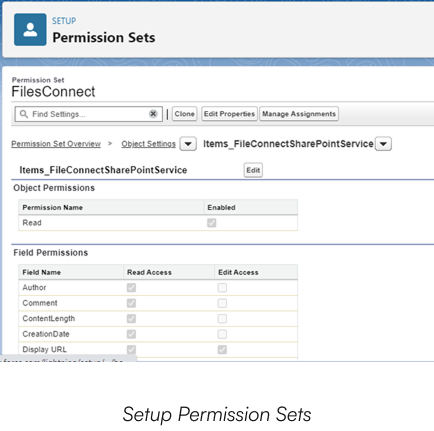
Step 8: Change Object Settings from permission set
Now, edit the permission set for that follow these steps:
Previously created permission set -> Object Settings -> Click on Object Name -> Edit -> Give Read Access -> Save.
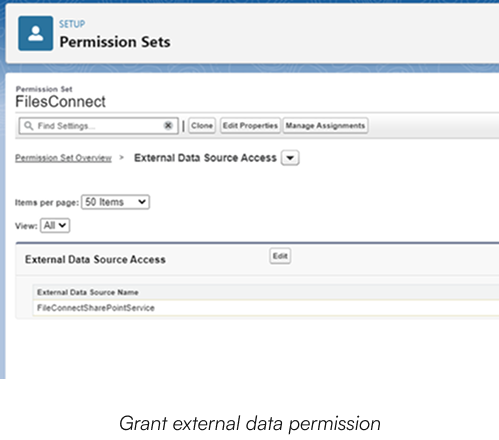
Step 9: Grant External Data Source Access from Permission set
Previously created permission set -> External Data Source Access -> Edit -> Add Previously created External Data Source -> Save.
Step 10: Create Named Credential
Go to Setup -> Search -> Named Credential -> Create New.
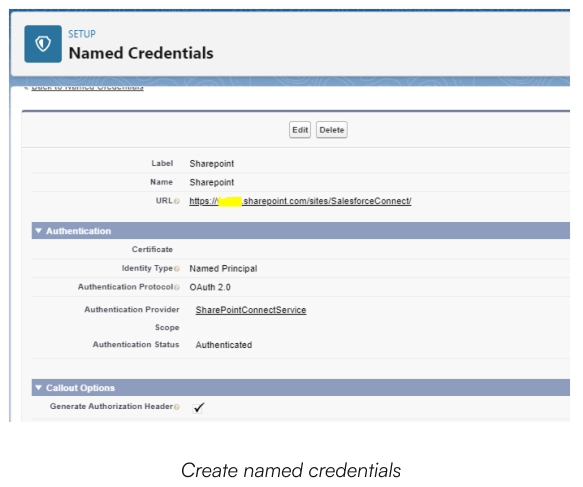
Set the details as mentioned in the image. Here, we need to give the callback URL from Auth. Provider. Also, Select the previously created Auth. Provider in the authentication provider. And we are ready…!!!
We need to follow all these above steps for both standard and custom approaches.
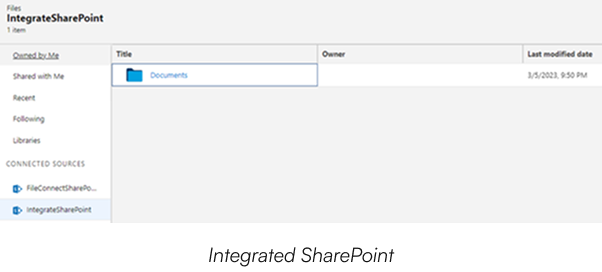
In order to access files via standard way, Go to Files and we will be able to see SharePoint documents.
API Callouts
For creating our very own LWC component, we just need to use these below callouts and woah we are good to go,
For this custom approach, we need to create the salesforce org user in SharePoint. Then, add that user as a member of our SharePoint site.
1. Get Folders
To retrieve folder names from a specific SharePoint folder we can use the following URL. It will go to the directory as mentioned in the URL and fetch all the available folder names.
callout:<Named_Credential>/_api/web/GetFolderByServerRelativeUrl(\’/sites/<Your_SharePoint_SiteName>/Shared%20Documents\’)/Folders’)
2. Get Files
To obtain files from a certain SharePoint folder, use the below endpoint URL which lists all the file’s names which are there in that folder.
callout: <Named_Credential>/_api/web/GetFolderByServerRelativeUrl(\’/sites/<Your_SharePoint_SiteName>/Shared%20Documents\’)/Files)
3. Upload File into SharePoint
Whenever, there is a requirement to upload a file into SharePoint from salesforce we can use the following endpoint URL. Over here, this URL will create one file by a given name at a location provided in the callout. Also, there are 2 options when it comes to duplicate files.
1. overwrite=true -> this will overwrite the original file with the updated file.
2. overwrite=false -> this won’t upload the file again.
callout:<Your_Named_Credential>/_api/web/GetFolderByServerRelativeUrl(\’/sites/<Your_SharePoint_SiteName> /Shared%20Documents\’)/Files/add(url=\”+fileName+’\’, overwrite=true)
4. Create folder into SharePoint
callout:<Your_Named_Credential>/_api/web/GetFolderByServerRelativeUrl(\’/sites/ <Your_SharePoint_SiteName>/Shared%20Documents\’)/folders